The Datawake ADS-B PiAware Receiver
One of my obsessions over the years has been collecting data, probing the radio spectrum, sensing outside my limited visual and hearing range, and deploying probes to expand my awareness of the environment. This leads to recognition of patterns, better understanding of how things work, and the voyeuristic thrill of peeking behind the curtains of technology or human activity.
Tracking Aircraft with a Raspberry Pi
Most of the machines I’ve built share this exploration as a common thread, with radio receivers, cameras, and sensors all contributing to “situation awareness.” Aboard Datawake, there is a suite of communication tools that include four SDR (software-defined-radio) systems along with a cluster of amateur radio gear and other receivers in the console. This article is about the first of those to be brought online… the ADS-B ground station that collects location data from aircraft and contributes it to FlightAware. Why? Because we can.
This was mostly a packaging project; I didn’t have to invent anything, other than a way to keep the hardware tidy, cool, and reliably connected to my network. Since there is quite a lot of interest in doing exactly this, I thought I’d share the details.
ADS-B Feeder Basics
This is similar in many ways to AIS, which is of course much more relevant to my nautical needs… in fact, I used to run Marine Traffic Station 401 here on San Juan Island (which moved to a friend’s house when I vacated my old lab building). In the marine environment, that provides extremely useful information about nearby boats, sometimes as an overlay on the chart plotter, seeing around corners (unlike radar) and giving a heads-up about potential collision situations. It is also the basis for a whole mini-industry of live ship tracking, with Marine Traffic just one of many services. This operates on 162 MHz, and is increasingly used by recreational boaters.
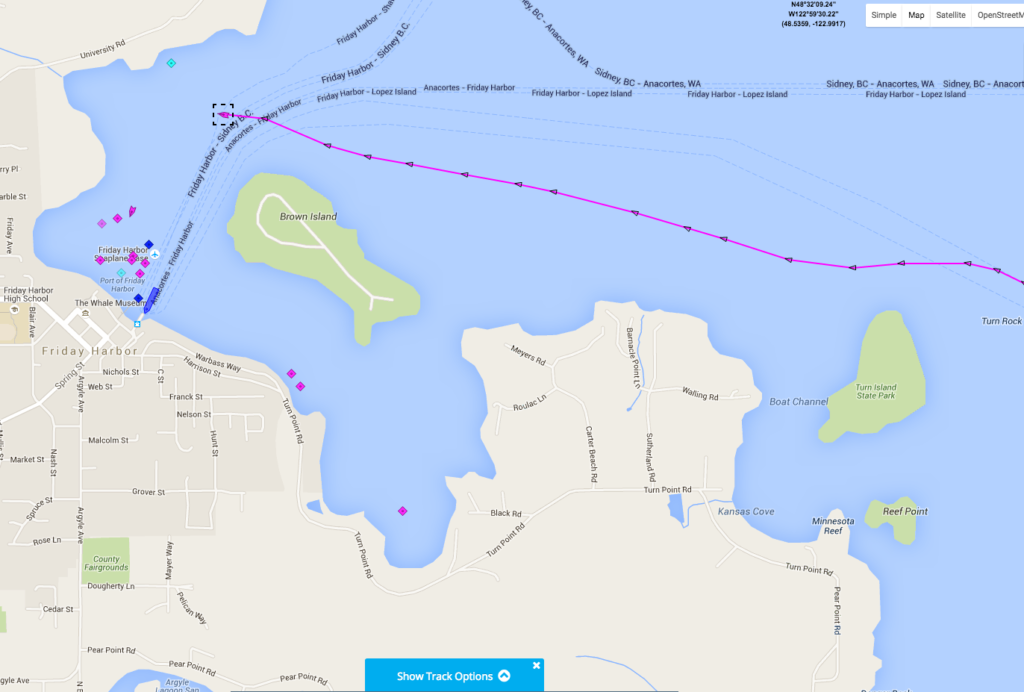
In the flying world, there is a similar tool called ADS-B (an acronym for the chewy “Automatic Dependent Surveillance – Broadcast”). This operates on 1090 MHz, and is so far mostly on commercial aircraft. Like AIS, it provides radar-like functionality by having individual planes determine their own position via GPS, then share it by broadcasting packets that can be received by other aircraft or ground stations. I am now one of the latter, in turn feeding that data to FlightAware, which is one of the commercial services that let folks track planes as they make their way between airports.
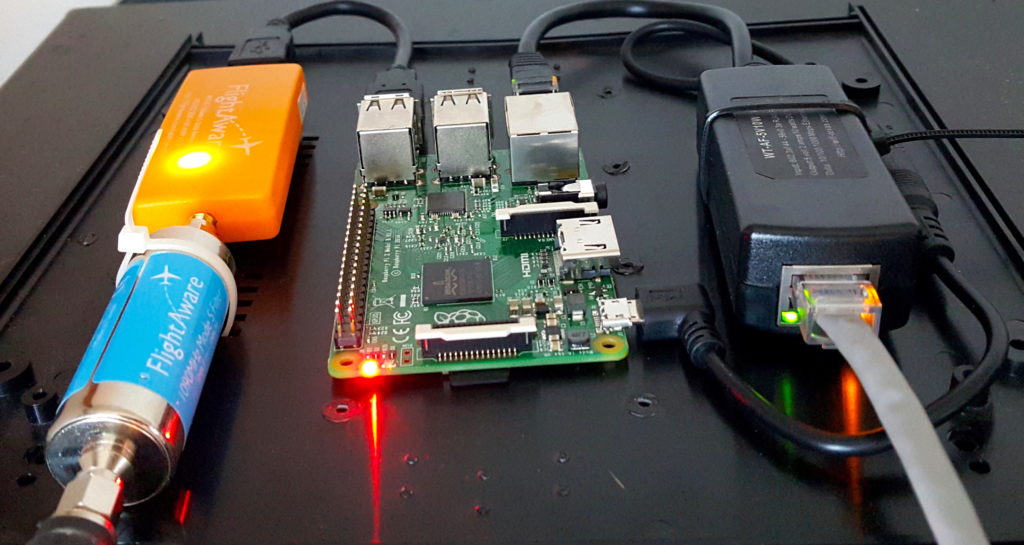
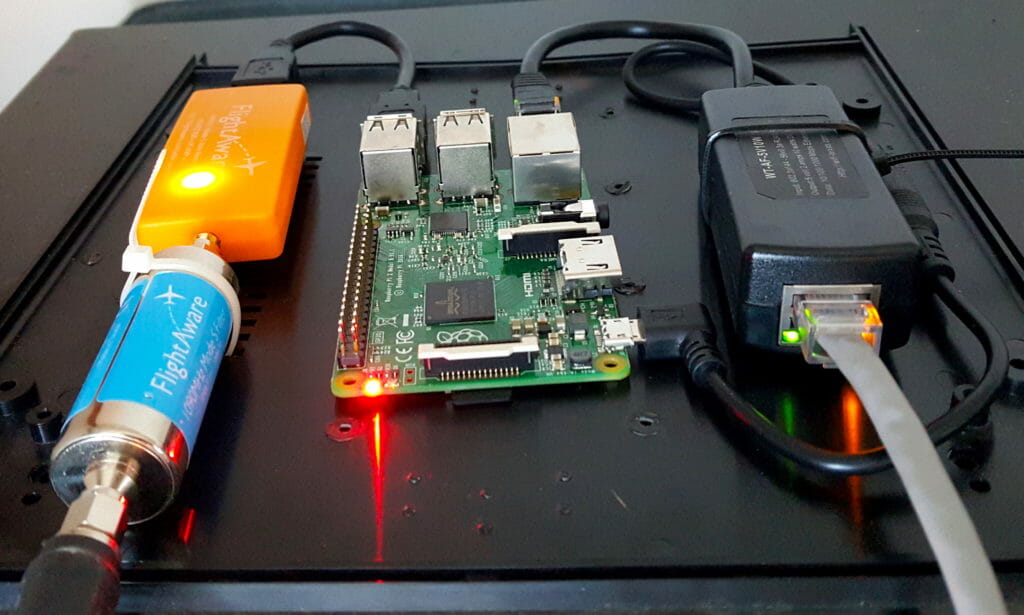
The most cost-effective way to do this is with a dedicated Raspberry Pi running PiAware copied into a micro-SD card, along with a receiver dongle, 1090 MHz filter, and ADS-B antenna. In my case, there is also a POE splitter to allow the rig to run via power over Ethernet off my Netgear switch, eliminating an additional messy cable and wall wart. Here’s the rig, as a temporary lash-up before packaging:
Assembling the Station
There are a few issues affecting my packaging choices:
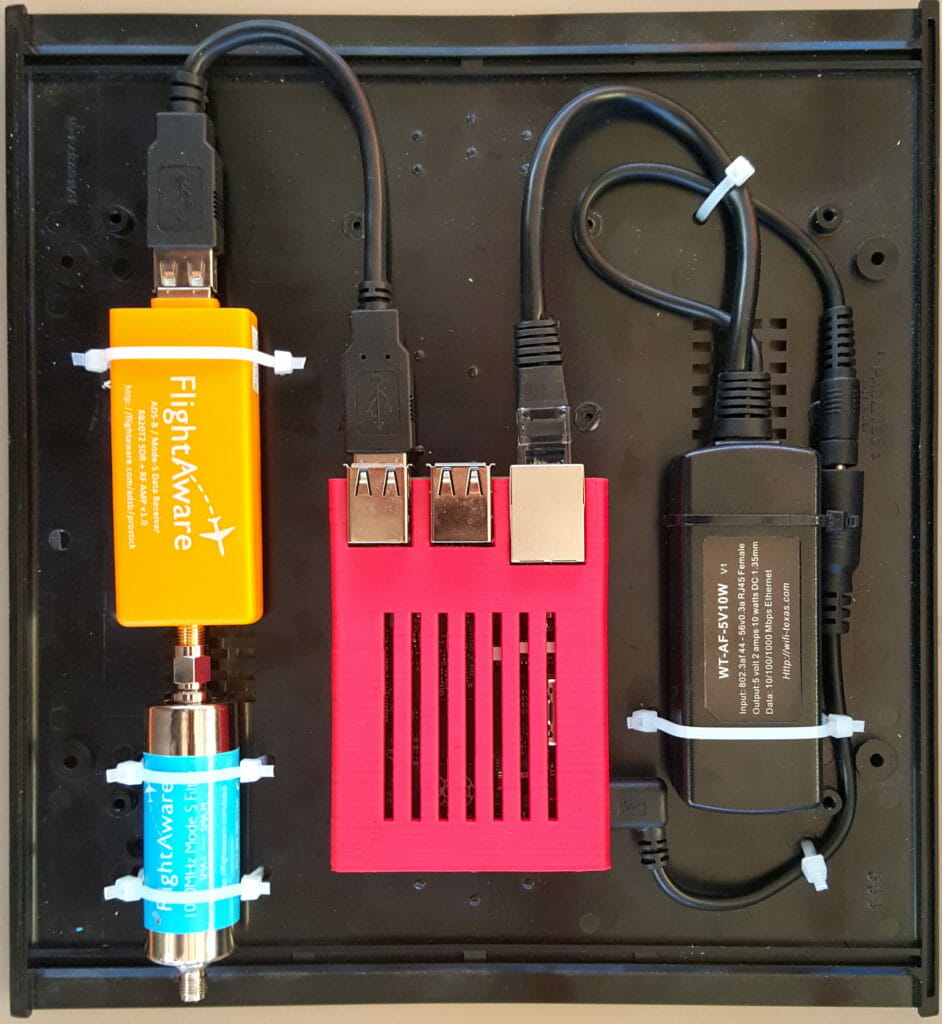
- Although the three colorful main components (filter, receiver, and Pi) easily attach together as a rigid assembly, the loads from heavy antenna cable and mounting could be high enough to stress connectors. I chose to connect the filter and receiver directly to minimize insertion losses, but use a USB extension cable from there to the computer.
- The exposed Raspberry Pi would be subject to static damage from a casual touch, so it needs a case (and besides, I didn’t have any small hardware on the boat to simply park it on stand-offs).
- The POE splitter is on the right, and needs no special attention other than appropriate cable routing for Ethernet in and out, as well as power to the Pi.
- I worried a bit about excessive heat gain when first considering sealed packaging up on the bridge deck. Research on this subject was inconclusive, with reports of overtemp errors in hot attics, so I elected to put it into a clean environment below and optimize the layout for convective airflow. Besides, blinkies.
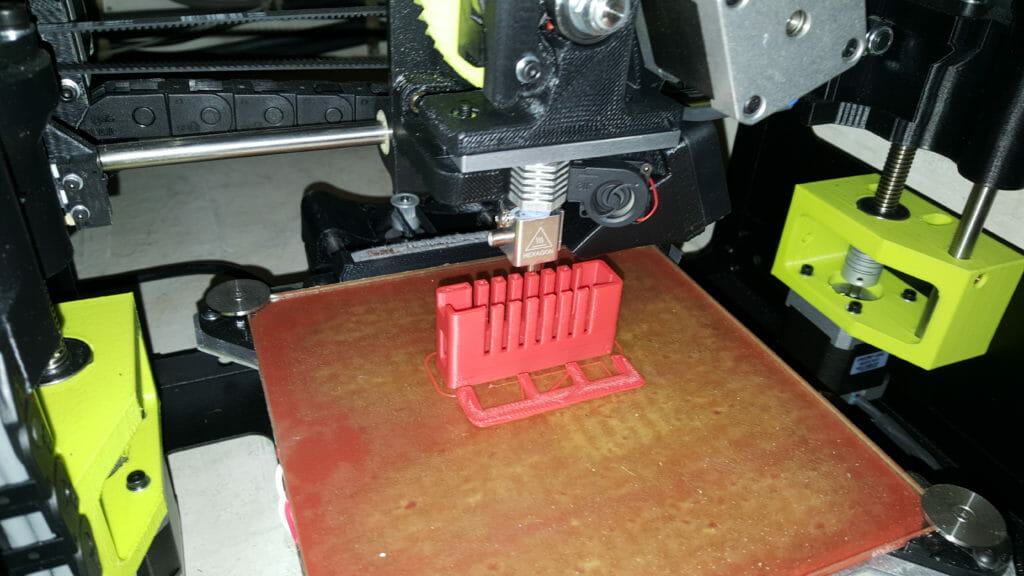
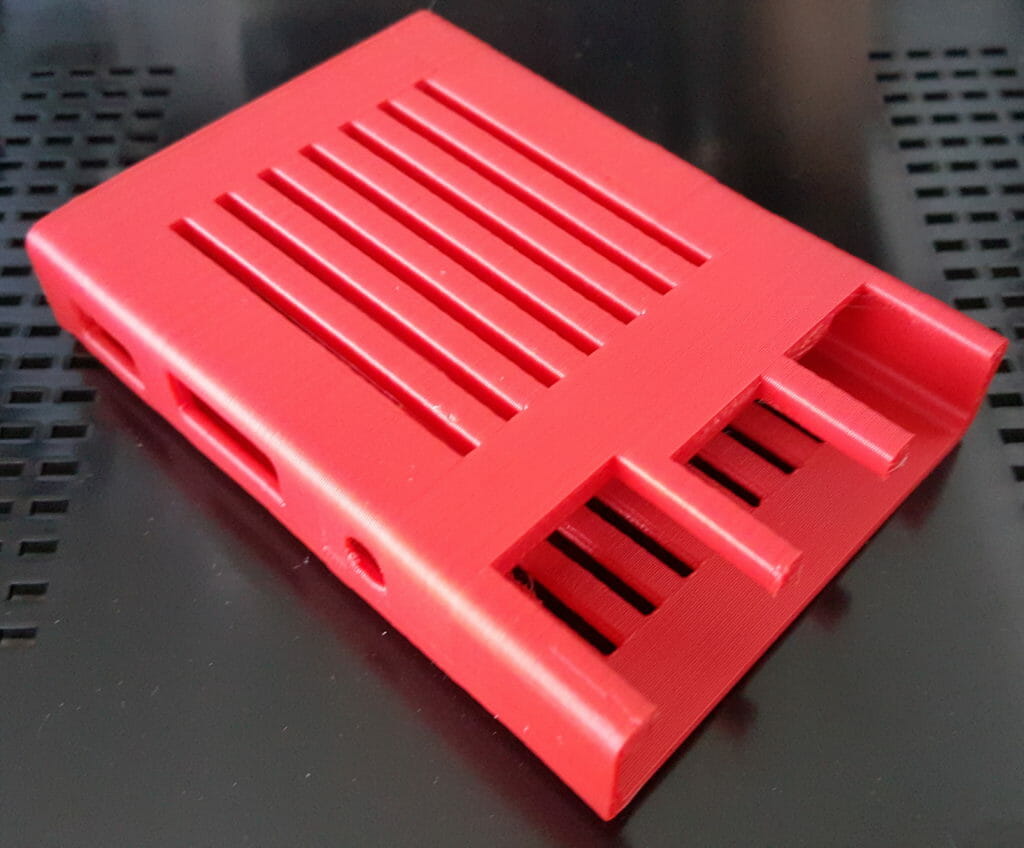
The first job was to package the Pi, and since I have a Lulzbot Mini 3D Printer aboard I went to Thingiverse and found a nice sleeve case. I used Cura to slice the STL file and make a 4.3 MB gcode file, sent that down to the OctoPi attached to the printer, told it to start, and went to bed. In the morning I had this lovely thing (I tossed the little end cap):
This was printed with HIPS (High Impact Polystyrene), which is not my favorite material… but it’s forgiving and works fine for things that don’t have to flex or be terribly precise. The Pi slipped into this with some reluctance, exposing the micro-SD slot, micro-USB for power, HDMI and audio (unused), Ethernet, and the four USB ports.
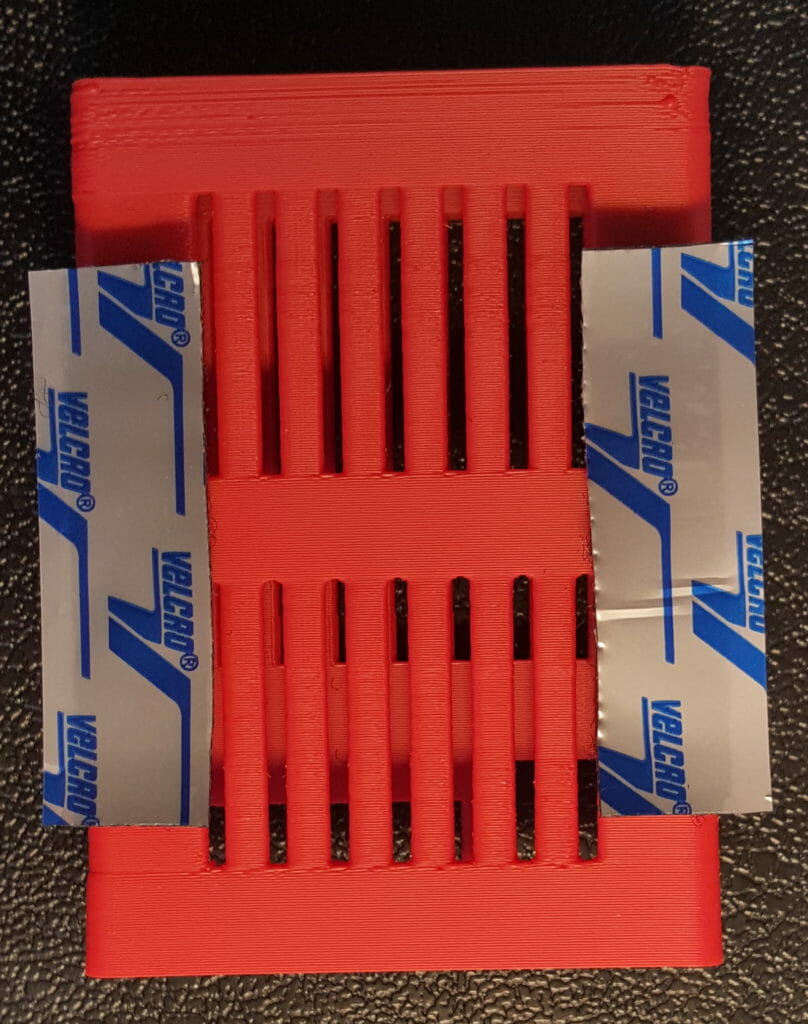
For the overall substrate, I grabbed a black plastic electronic enclosure I had lying around; this is the kind with bottom surface, top cover attached with four screws into threaded bosses, and front and back panels. The latter were not used, as I wanted maximum convective airflow from vertical mounting on the wall, and in that spirit I mounted the Pi case with the slots upright and unblocked by Velcro. None of this is terribly critical, it turns out; temperature measurement with a Fluke IR thermometer is showing 93º F on the Pi board at the moment with ambient at a comfortable 76° F (this is unscientific; I haven’t figured out how to see reported CPU temperature via FlightAware or the local server).
With this done, it was a simple matter to lay out the hardware in the generous space of my 8×9-inch enclosure. The Pi box is Velcro’d on, and the other items are zip-tied via holes drilled as needed. Because of the different thickness of the filter and the receiver (from center SMA-connector axis to bottom surface), I glued a 1/4″ pad of Neoprene underneath the receiver to minimize connector stress when pulled down by the zip ties. Here’s the whole machine, ready to mount in the boat:
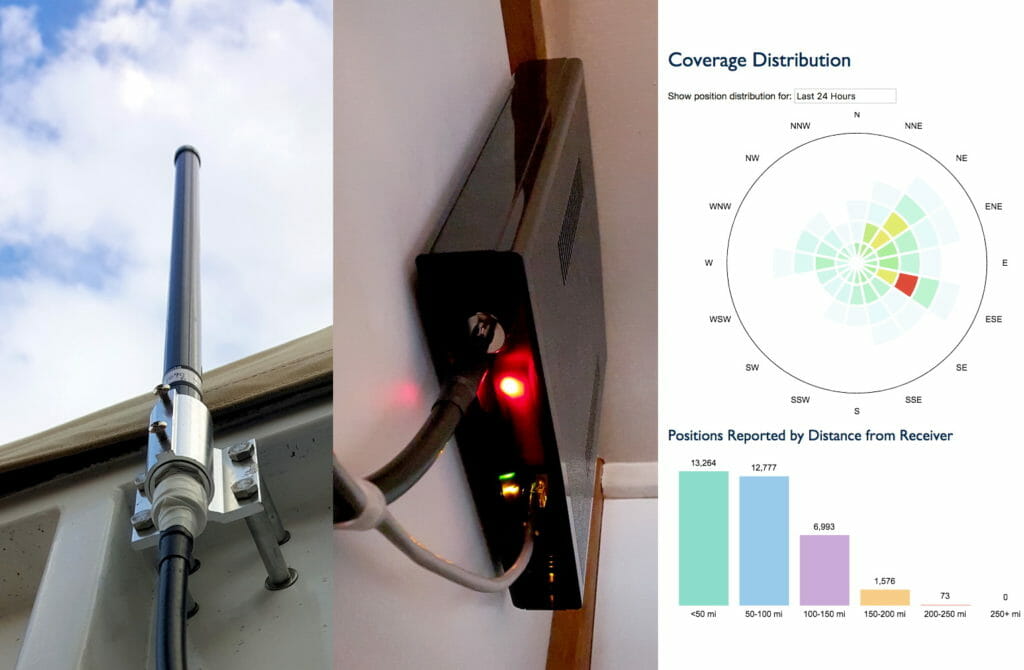
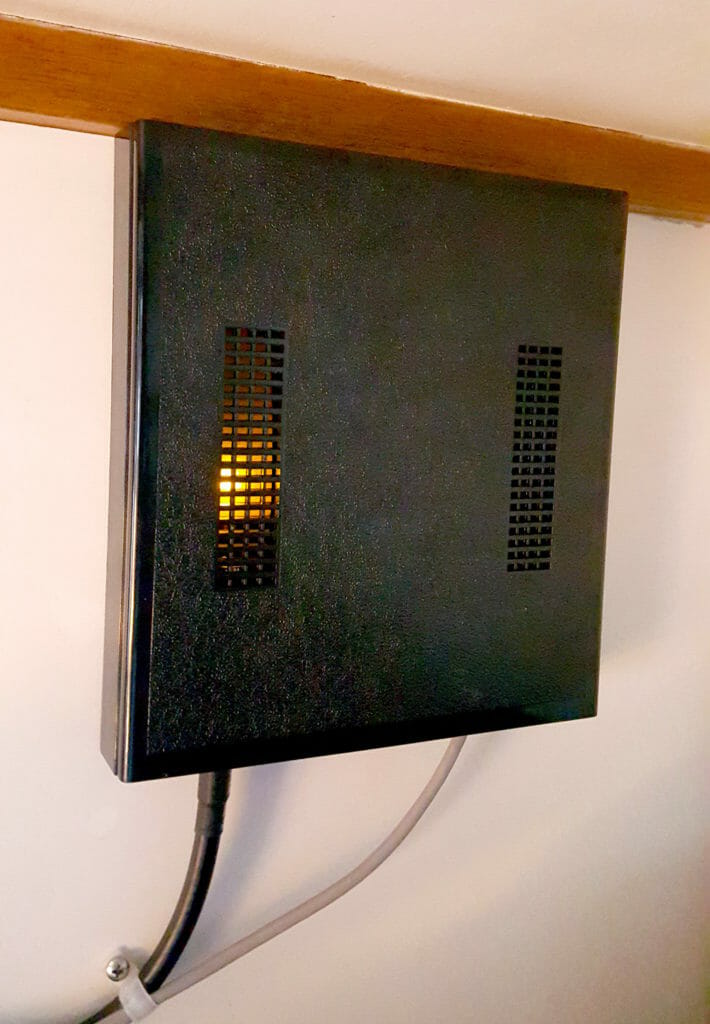
Placement of this on the wall was dictated by the antenna cable, which is 7 feet of LMR-400 routed down through the bridgedeck console and through the corner of the pilothouse. It is stiff and needs wide easy curves, and that pretty well defined the orientation and position of the box. I slapped on two industrial strength Velcro strips and it was done, with a nice coax curve into the filter and the Ethernet cable to the splitter. The open ends are at top and bottom, so convective airflow should be enough to keep the Pi happy (and if not, it will be easy to add a fan).
The ADS-B Antenna
There are lots of ways to do this part, and as a true hobbyist I probably should have taken the time to build any of the homebrew designs that can be found online. But for $45 I could be lazy, and just get the project done… I bought one of the 1090 MHz antennas produced by FlightAware on Amazon.
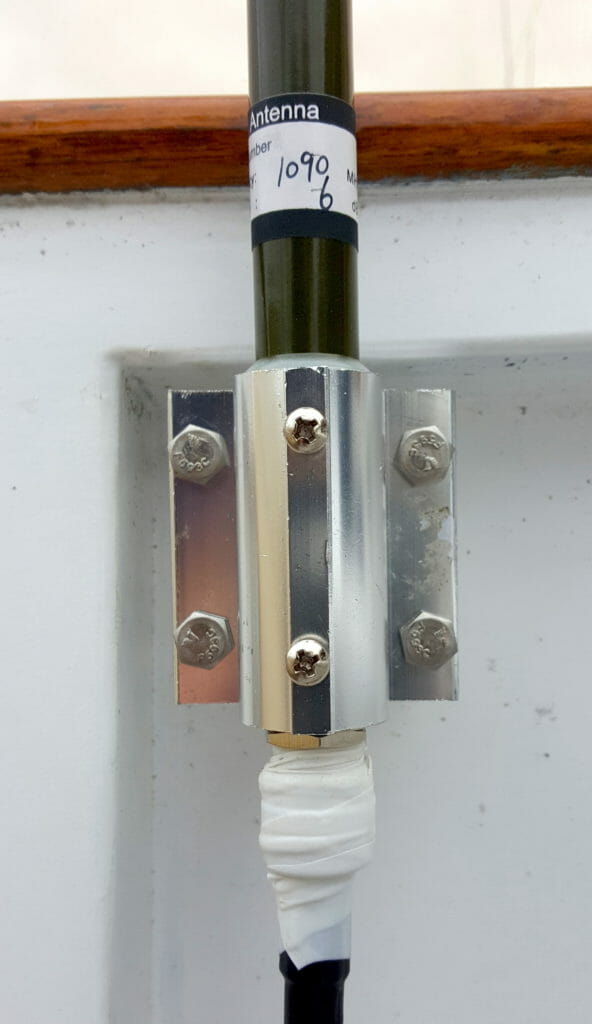
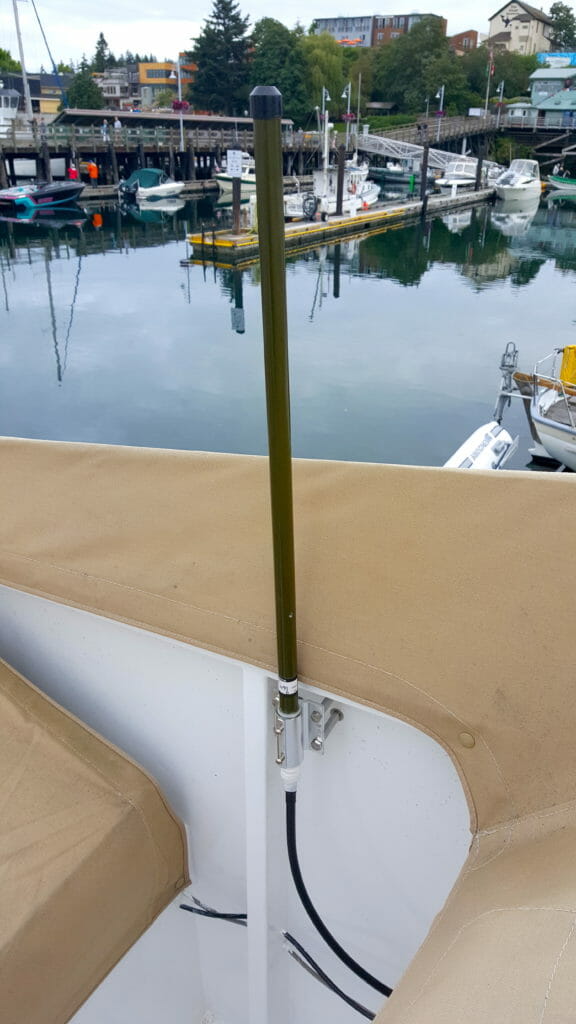
Cable loss is the biggest issue at these frequencies (well, other than antenna placement), so I minimized the length by going with the 7-foot option. This ended up being a tighter constraint than I had planned, and with the stiff LMR-400 cable, sharp bends were not an option. The solution was to mount it on the inside surface of the wall around the upper helm station, using stand-offs and long 1/4″ bolts to let the antenna clear the rail structure:
The connector is the N-type, and I gave that a little extra protection with some self-fusing silicone Rescue Tape (great stuff to have around). This whole lashup, including the final curve into the unit down in the galley, needed every bit of that 7 feet of cable, but better that than a big loop of lossy excess as so often happens. The mounting left four ugly bolt ends and nuts on the outside of the boat, and that’s annoying enough that I’ll either make a cover or find a way to use it for another purpose. But it did manage to span the edge of the canvas that covers the wrap-around smoked windshield, eliminating the need to do any fabric hacking… and initial results indicate that the location is fine despite an orthogonal aluminum strip on the top edge of that covered acrylic surface.
Performance
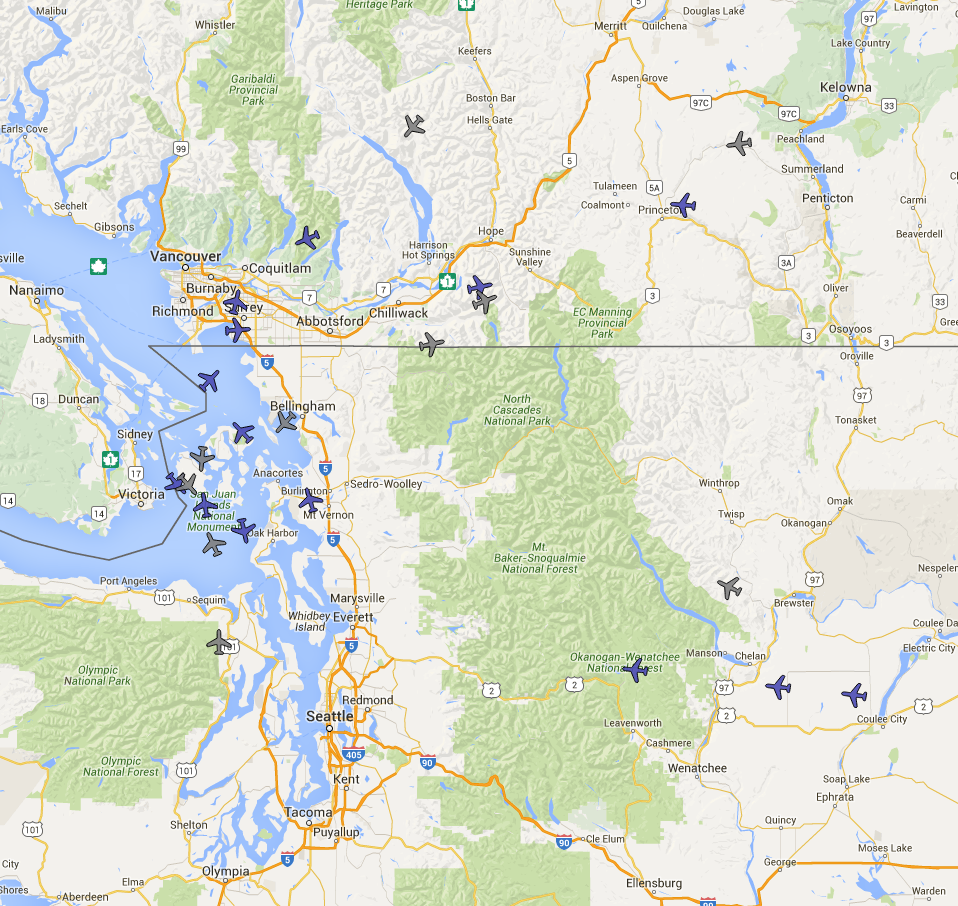
Comparing my “feeder” performance to other stations serving ADS-B data to FlightAware, it looks like this is working beautifully… with plenty of hits over 200 miles. It’s fun to click on individual planes, go explore their tracks, and correlate that with what I see in the sky or hear on the local Friday Harbor Unicom or more distant ATC channels.
You can see my statistics at FlightAware here. Before actually getting this beast off the dock, of course, I’ll have to deal with either auto-updating my own location or simply taking it offline to avoid confusing MLAT and stats-generation. That won’t be an issue for a while yet…
As I admitted at the beginning, this is all rather irrelevant to the obvious nautical mission of Datawake, but it contributes to the larger mission of more deeply understanding the world around me. It’s fun, too. But all that aside, I hope the construction tips in this article are helpful to others who wish to add ADS-B feeder capability in more conventional settings, packaging the hardware in a way that will keep it running for a long time.
I’ll close with a short video snippet of the Pi case printing on the Lulzbot Mini down in the boat’s machine shop…



You must be logged in to post a comment.