A Simple Hinged Instrument Panel
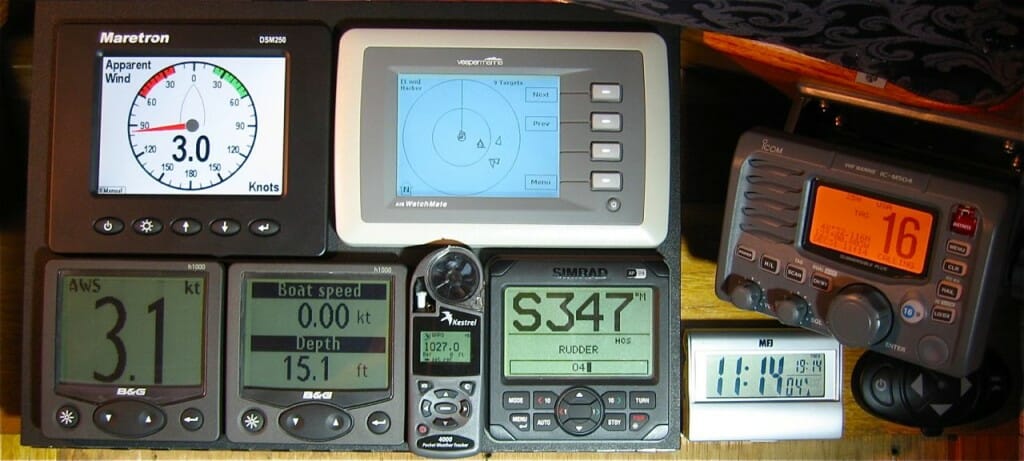
It is nice to be able to report that the first Nomadness pilothouse helm control surface has been completed, fabricated with King Starboard material and carrying a basic suite of instruments: network displays, AIS transponder, autopilot, and weather monitor… flanked by VHF, clock, and spotlight remote control.
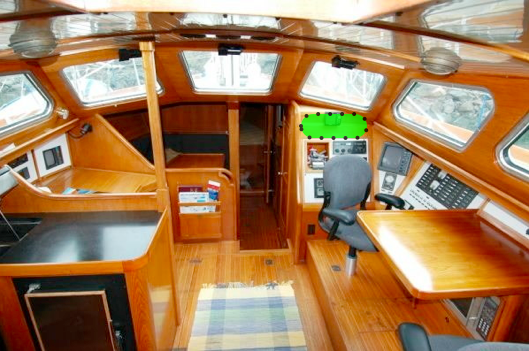
The operating position shown here is becoming the home of everything needed to drive the boat; before my time, the VHF and instruments were over on the port side, difficult to see and use while at the helm (that original nav station with sloped desktop is now becoming the Internet Alcove and Zone of Hackage). The Main Helm Console to starboard carries engine controls, throttle/ transmission levers, a large Planar touchscreen for the nav Mac, joysticks for steering and camera control, and a few related connectors and switches (more detail on the Console Devices page).
The new Upper Helm (located at the bright green blob in the photo above) hinges down for service. The VHF is mounted to the right at an angle that matches the radar… here is the new console region, finished and powered up on a calm evening:
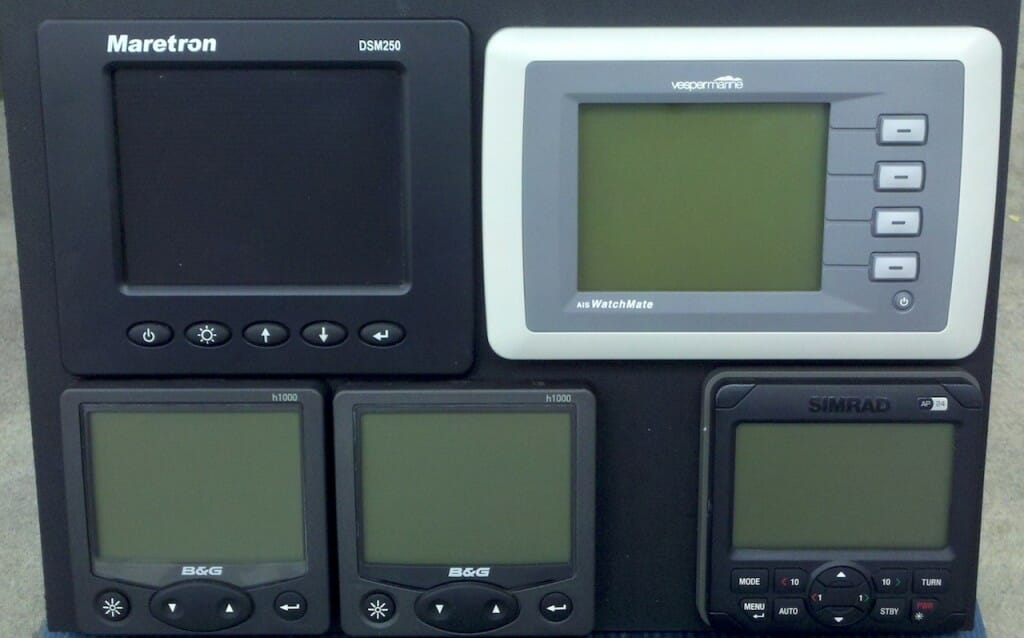
The devices are:
- Maretron DSM250 color display for the NMEA2000 network, with a number of configurable screens for showing instrument and sensor data, nav info, fuel tank levels, and so on
- Vesper WatchMate 850 AIS transponder to display other ships’ locations relative to mine… and transmit mine to them.
- Two old B&G Networks h1000 instrument displays, connected to masthead wind direction & speed sensors, depth sounder, and speed-thru-water paddlewheel sensor. Data is bridged to the N2K network, so these are arguably redundant, but they work well… and there are similar screens over the companionway.
- Kestrel 4000 weather meter for local data collection of temperature, humidity, barometric pressure, and various calculations derived from those values
- Simrad AP24 Autopilot head, connected to the autopilot computer, wireless remote, and rudder-angle sensor
- MFJ 133RC digital clock with WWV receiver and dual time-zone display
- Icom IC-M504A marine VHF with remote CommandMicIII at the outside helm station, GPS feed from the AIS unit, and hailer horn for external audio
- Wireless remote for Golight Stryker Az-El steerable HID spotlight on the bow, with attached video camera
There is a lot of information clustered here, but it is mostly normal marine stuff and doesn’t require a lot of explanation. I want tell you instead about the fabrication…
The VHF radio and its immediate neighbors are simply attached to the wall framing, just under one of the pilothouse windows. For the panel, I wanted an attractive material, easily machinable and hackable later, with a look that is consistent with the rest of the boat’s control surfaces. Down in the lab, the rack faces will be black anodized aluminum, but up in the pilothouse the new panels had to have the same thickness as the old ones… so I don’t have to hack joinery to change existing hinges and frames. The original panels, a half-inch thick, are a very dense plastic with white laminate (a real pain to modify).
After lots of research, I decided to replace them all with half-inch black King Starboard material, available cut-to-size from Tap Plastics. This stuff machines like butter and even takes wood screws, and has a finely textured finish so it won’t show fingerprints. The new main helm console and power panels will simply drop into the same frames as their predecessors, mounted on stainless piano hinges, but the upper helm is new and requires a different approach.
Since making it co-planar with the lower one would require massive surgery (including the shower stall on the other side of the wall), I decided to hinge-mount it on a teak strip about 2″ wide… spacing the panel out far enough that the backs of the instruments and their cables would have clearance.
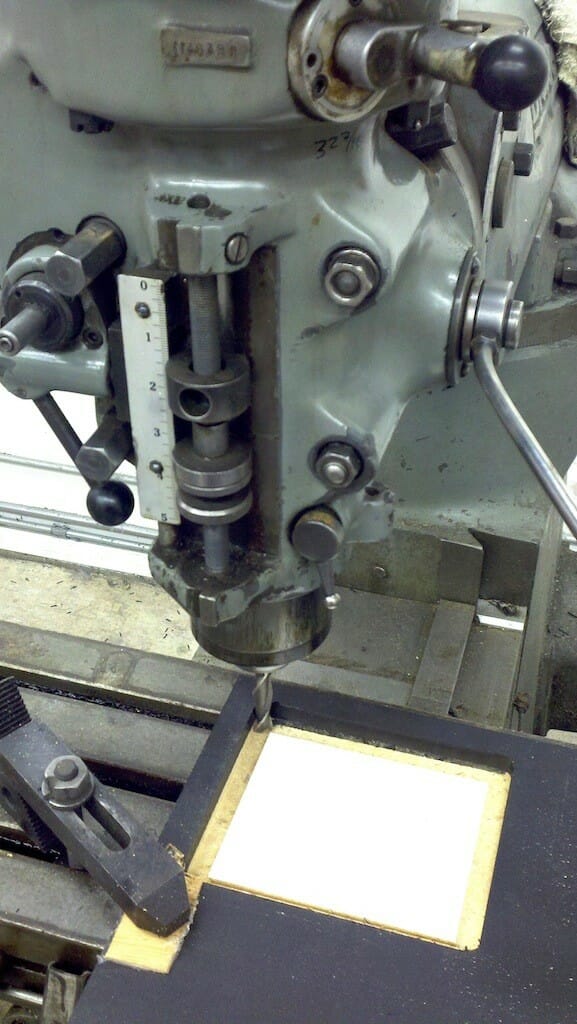
The project began with an 11×16″ piece of Starboard, and I milled a thin lip on the bottom to hide the piano hinge edge. After much noodling and sketching, I started cutting holes, beginning with the Maretron display.
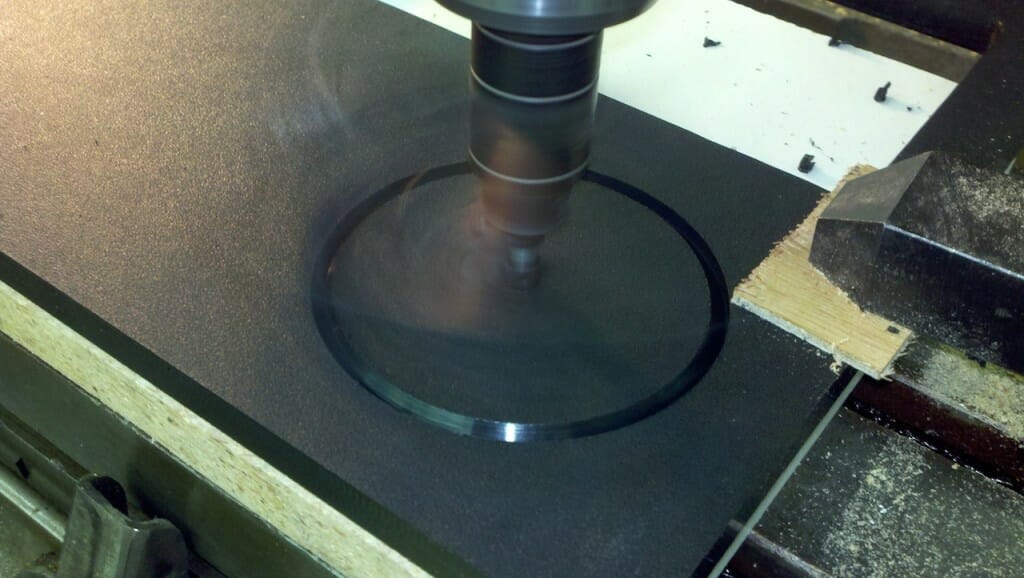
As I mentioned, the material is very easy to cut; after using a fluted mill for the two rectangular holes, I switched to a fly cutter for the round ones. This left a glassy-smooth edge (much nicer than a test with a hole saw, which left globby bits from melting).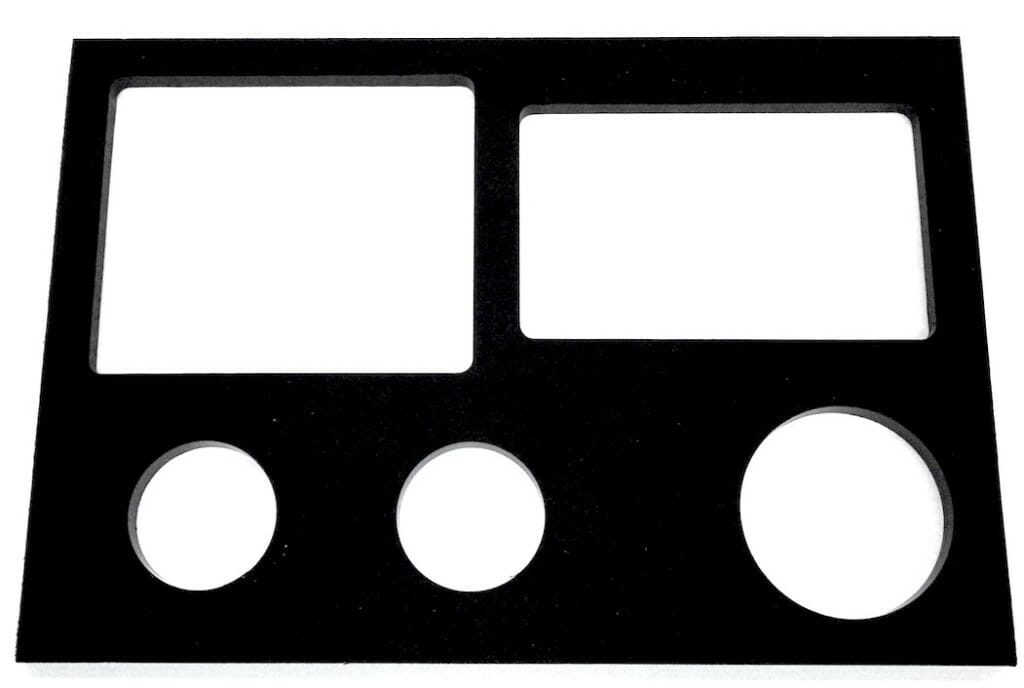 The biggest hassle was hole placement; with proper template files and a CAD system, it would not have depended so much on eyeballing. That will be a recurring theme here for a while, I think… the trade-off of low-tech vs high-tech approaches to a one-off project does not necessarily favor one over the other. Either way, you spend a lot of time trying to make it pretty.
(Of course, in this case, all the holes are hidden anyway. A garage-shop saber saw would have been adequate in the long run. It’s a sickness, I tellya…)
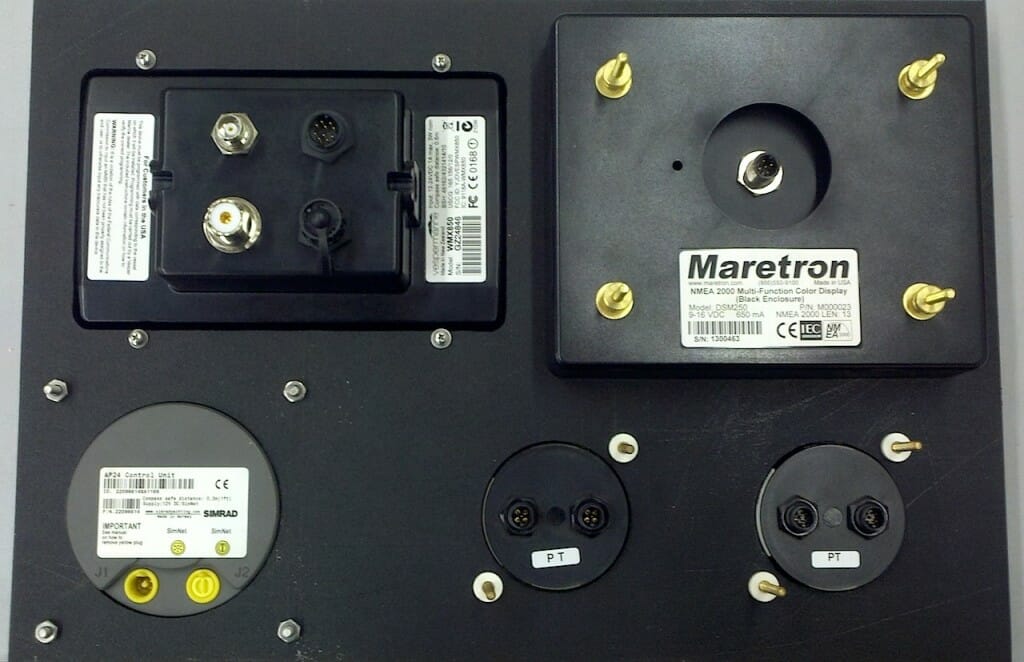
Once the big openings were cut, mounting the instruments was just a matter of providing each with the holes needed for its particular design… again, actual-size templates would have made this easy, but it’s nothing that can’t be done with ruler, calipers, and patience.
By the way, this is a good example of the problem with mixing legacy hardware with more modern tools, especially with the added annoyance of proprietary connectors. There are four different “standards” represented in those photos at right: NMEA2000, NMEA0183, Simrad’s version of NMEA2000 called SimNet, and the vintage FastNet that ties B&G stuff together. There is a lot wrong with this… it is just one small part of one small boat, yet still we see the need to splice electrically equivalent devices together (Simrad vs Maretron) and install two different gateway products to interface standard (183) and proprietary (FastNet) protocols with the newer network. A hybrid package like this is almost unavoidable these days without spending huge amounts of money to upgrade everything at once, and gradual evolution of the system is complicated by the need to maintain backward compatibility.
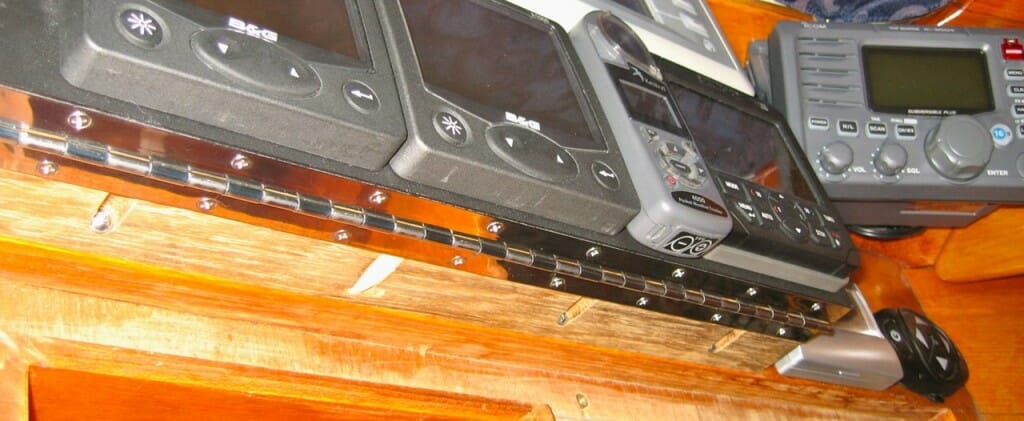
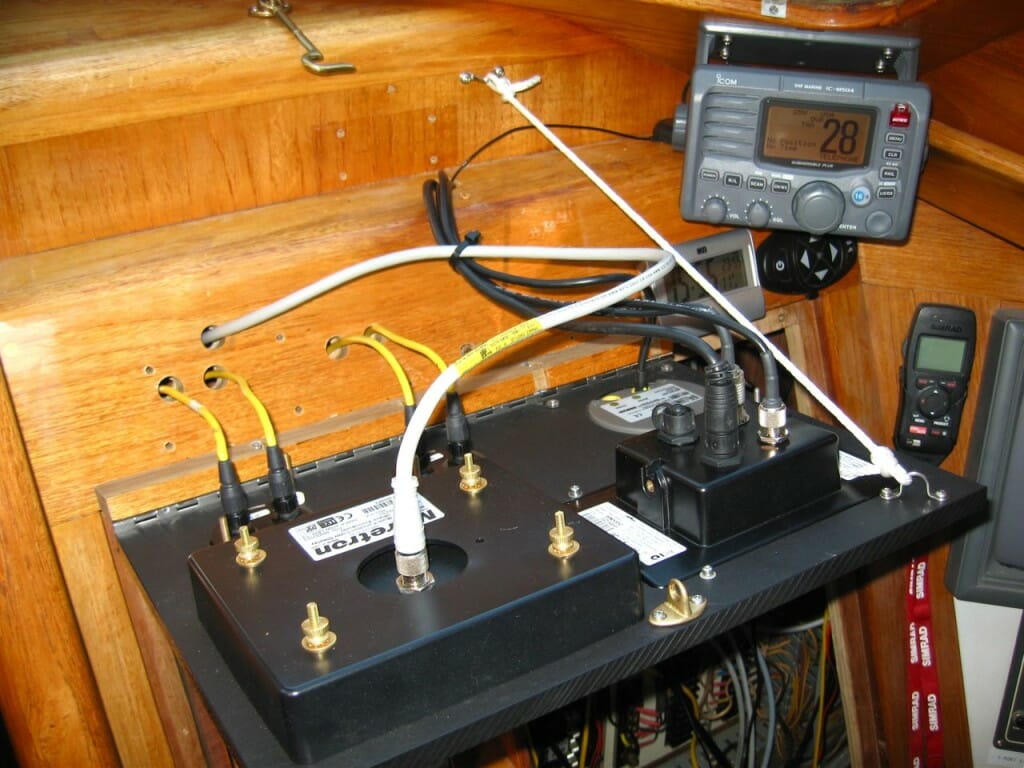
Anyway, back to packaging! In the photos, you can see the panel mounted, both closed and open… the yellow B&G cables slide nicely into the thin space behind the wall, and the gray one is N2K from the Maretron with a lazy loop through an existing hole. If you peer closely, you can see the elongated pockets I made with the Kreg R3 Jr jig (which I highly recommend)… this magical device lets you drill precise angled holes outthe edge of one board with a built-in clamping face, whereupon you use the company’s special screws to attach the pieces together without all the usual fixturing headaches. These are widely used for cabinetry and such, but what turned my head was the availability of stainless Kreg screws. Right-angle attachment jobs like this that would once have been a pain are now actually rather easy, though during the learning curve I did manage to trash one hole by chasing it manually after failing to set the jig thickness correctly. Well, duh. I glued in a plug to minimize the chance of some future skipper lying on the floor, looking up, and insulting the previous owner… though that’s inevitable regardless, I’m sure.
The whole thing is just grafted on to an existing wall, but it’s clear why flush-mount would have been a nightmare. As it turned out, the VHF radio in the corner perfectly matched the offset of the new upper helm panel, so it looks like it was supposed to be this way, at least when closed.
Serviceability is easy. The hinge lets it open flat (originally it flopped all the way down, but that would have led to front panels getting dinged). It’s kept under control by a couple of stainless rope guides and a piece of line tied with buntline hitches. When closed, it’s held in place by a lovely brass swinging hook latch that has been looking for an application aboard.
Next console project: the two main helm panels, navigation and power. Both are currently in progress, with power coming first. I’ll close this post with a sneak preview:
Cheers from Nomadness…
Steve


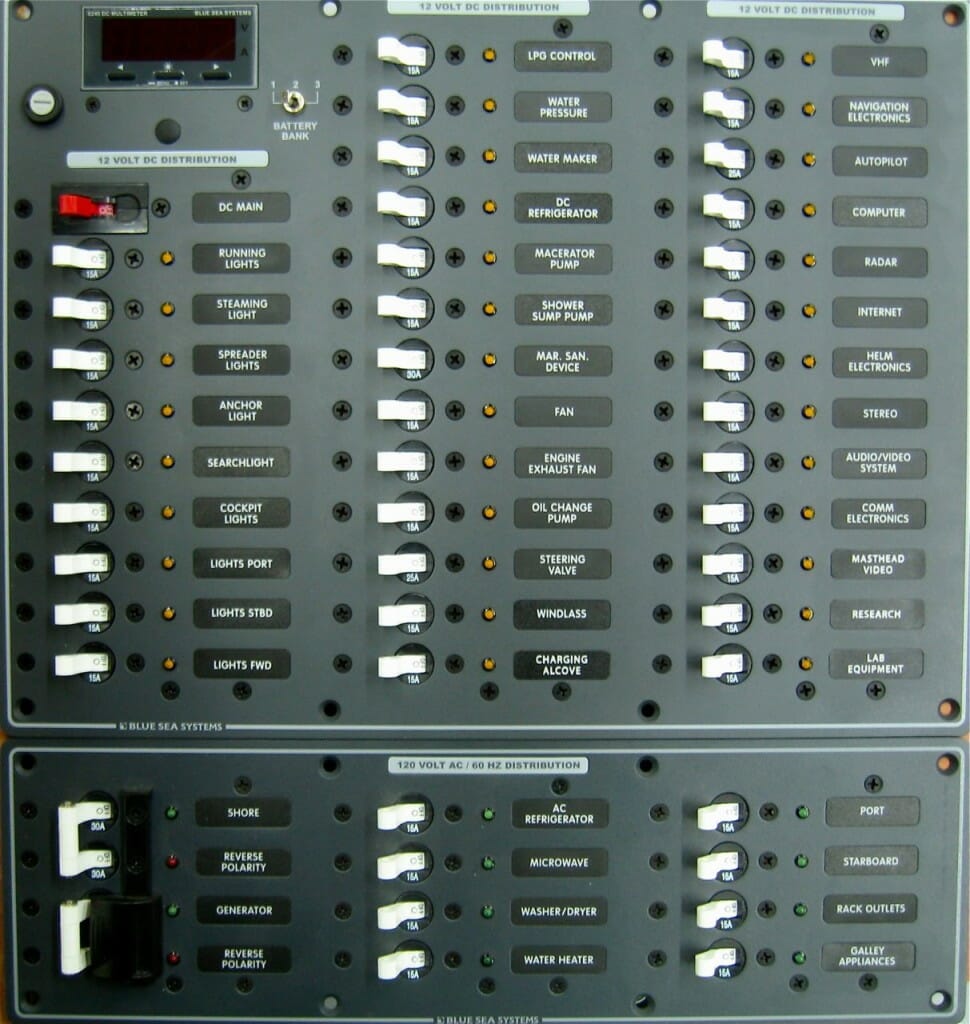
“Washer/Dryer”? On a boat?
Why sure! In practice, it’s almost useless as a dryer (lifelines and clothespins are much better), but it is great having a washer aboard when there’s enougg water and power to run a load. It’s quite discretely tucked away under a standing workspace, and it is made by Splendide. It came with the boat… I don’t think I would have done the carpentry or spent the money to install one myself, but I’m glad it’s there!